
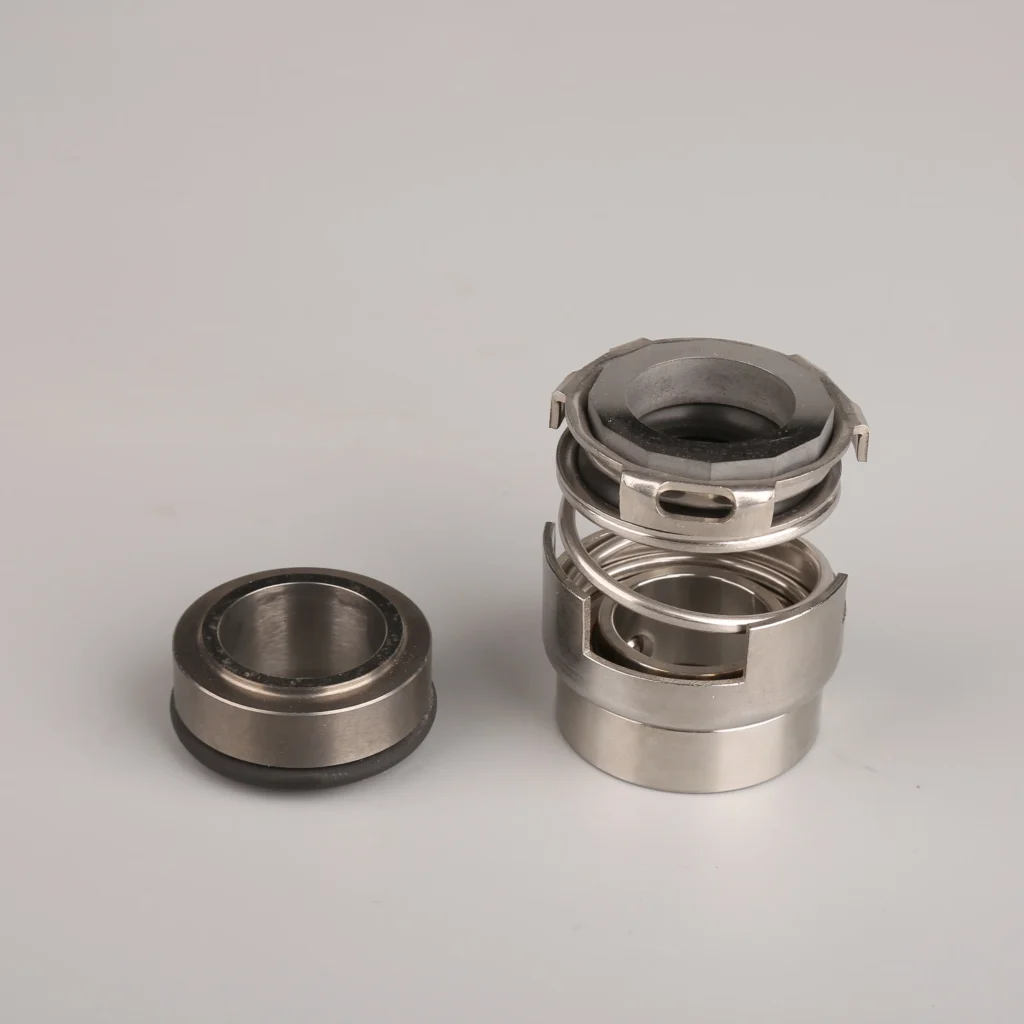
Mechanical seals are critical components for preventing fluid leakage in pumps, agitators, and other rotating industrial equipment. However, improper installation remains one of the most common causes of premature seal failure, leading to unexpected downtime, fluid loss, and increased maintenance costs. Many installation-related issues can be avoided by following proper procedures and paying attention to key details during preparation and assembly.
Understanding the most common mechanical seal installation mistakes and applying the right mechanical seal solutions helps extend seal service life, improve equipment reliability, and reduce unnecessary maintenance.
Key Takeaways
- Selecting a seal with mismatched materials or specifications is a top cause of early failure, so always match seal type and material to your exact process fluid, temperature and pressure conditions.
- Improper handling and storage can damage precision seal faces before installation, leading to hidden defects that cause leaks shortly after startup.
- Poor shaft alignment and surface damage accelerate uneven seal wear, so thorough equipment preparation is a non-negotiable pre-installation step.
- Non-standard installation operations such as uneven bolt tightening, excessive compression and dry running cause permanent seal damage and drastically shorten service life.
- Strict cleanliness control throughout installation prevents particulate contamination from scratching precision seal faces, which is essential for long-term leak-free operation.
5 Common Mechanical Seal Installation Mistakes
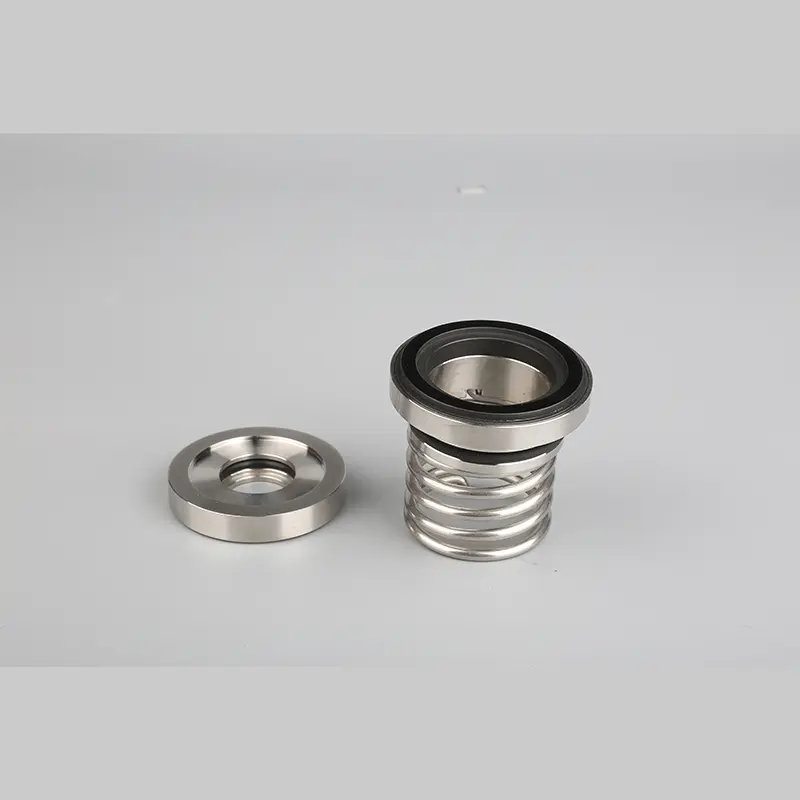
1. Wrong Seal Type and Material Selection
Mismatched seal selection is a root cause of premature failure that cannot be fixed by correct installation alone.
- Common errors: Choosing a seal with incorrect dimensions, using a material incompatible with the process fluid, or selecting a seal rated for lower pressure or temperature than actual operating conditions.
- Impact: Chemical incompatibility causes seal materials to swell, soften or crack; insufficient temperature or pressure ratings lead to seal deformation and sudden leakage. These issues trigger unplanned shutdowns and increase repair and replacement costs.
- Best practice: Verify all operating parameters including fluid composition, concentration, temperature and pressure before selection. Confirm seal dimensions and shaft size match equipment specifications. When in doubt, consult the seal manufacturer for application guidance.
2. Improper Handling and Storage
Precision seal faces are machined to ultra-fine tolerances, and damage during handling or storage often goes unnoticed until the seal leaks.
- Common errors: Touching seal faces with bare hands (leaving skin oils and contaminants), dropping or bumping seals, using damaged tools during installation, and storing seals in unsuitable environmental conditions.
- Impact: Scratches or contamination on seal faces prevent a tight sealing gap, causing immediate or early leakage. Improper storage degrades elastomer components, leading to cracking, hardening or loss of elasticity.
- Best practice:
- Always wear clean, lint-free gloves when handling seal components; never touch sealing faces directly.
- Store seals in a cool, dark environment with temperatures between 15–25°C and humidity below 65%, away from ozone sources, direct sunlight and chemical vapors.
- Keep seals in their original packaging until installation to avoid physical damage.
3. Inadequate Shaft and Equipment Preparation
Poor shaft condition and misalignment are major causes of uneven seal wear and shortened service life.
- Common errors: Installing seals on shafts with scratches, burrs or corrosion; failing to correct shaft runout or equipment misalignment; and skipping pre-installation dimensional checks.
- Impact: Shaft surface defects damage the seal’s secondary sealing elements. Misalignment causes uneven loading on seal faces, leading to accelerated wear, overheating and premature failure.
- Best practice:
- Inspect the shaft thoroughly for surface damage, and polish or repair defects before installation.
- Verify shaft runout, concentricity and alignment using dial indicators or laser alignment tools.
- Confirm all installation dimensions match seal specifications, including stuffing box depth and shaft diameter.
4. Non-Standard Installation Procedures
Deviations from standard installation procedures cause immediate, often permanent damage to mechanical seals.
- Common errors: Uneven or over-tightened gland bolts, incorrect seal compression, hammering on couplings during installation, and starting equipment without proper fluid lubrication (dry running).
- Impact: Over-tightening causes seal deformation and uneven face loading. Dry running generates extreme heat in seconds, cracking seal faces and damaging elastomers. These errors are responsible for a large share of post-installation seal failures.
- Best practice:
- Follow the manufacturer’s installation manual step-by-step, and tighten gland bolts evenly and gradually to the specified torque.
- Ensure the seal chamber is fully filled with process fluid before starting equipment to prevent dry running.
- Never strike the shaft or coupling directly, as impact force can misalign or crack seal components.
- Reputable manufacturers such as Victor provide detailed installation guides and training resources to support correct on-site operation.
5. Poor Cleanliness During Installation
Even tiny particulate contaminants can scratch precision seal faces and destroy the sealing film required for proper operation.
- Common errors: Working in a dirty work area, using dirty tools, leaving dust or debris in the stuffing box, and failing to clean the shaft and housing before assembly.
- Impact: Hard particles trapped between seal faces cause abrasive wear, leakage and reduced service life. Even fingerprints and residual grease can disrupt the fluid film and degrade sealing performance.
- Best practice:
- Set up a clean, dedicated work area for seal assembly, and use only clean, lint-free tools and cloths.
- Thoroughly clean the shaft, stuffing box and all seal components before assembly.
- Lubricate O-rings and seal faces with a small amount of compatible process fluid, not general-purpose grease.
Conclusion
Most mechanical seal installation failures are avoidable with proper planning, standardized procedures and attention to detail.
By selecting the correct seal for your application, handling and storing components carefully, preparing equipment thoroughly, following formal installation procedures and maintaining strict cleanliness, you can drastically extend seal service life and reduce unplanned downtime.
Investing time in proper installation training and following mechanical seal manufacturer guidelines will deliver significant savings in maintenance costs and improved equipment reliability over the long term.
FAQ
What is the most common cause of mechanical seal failure?
Installation and operation-related factors account for over 70% of mechanical seal failures, with poor alignment, dry running and particulate contamination being the most frequent triggers.
How do you prevent dry running damage to a mechanical seal?
Always ensure the seal chamber is fully filled with process fluid before starting the pump. Never run the pump dry, even for a few seconds, as this can permanently damage seal faces.
Why is cleanliness so important for mechanical seal installation?
Precision seal faces are machined to ultra-fine tolerances. Even small dust or dirt particles can scratch the sealing surface, causing accelerated wear and leaks that shorten service life.
How do you check shaft alignment before installing a seal?
Use dial indicators or laser alignment tools to measure shaft runout and equipment alignment. Correct any misalignment beyond the seal manufacturer’s allowable limits before installation.
How should mechanical seals be stored before installation?
Store seals in their original packaging in a cool, dark, dry place, away from direct sunlight, ozone sources and chemical fumes. Ideal storage conditions are 15–25°C with humidity below 65%.