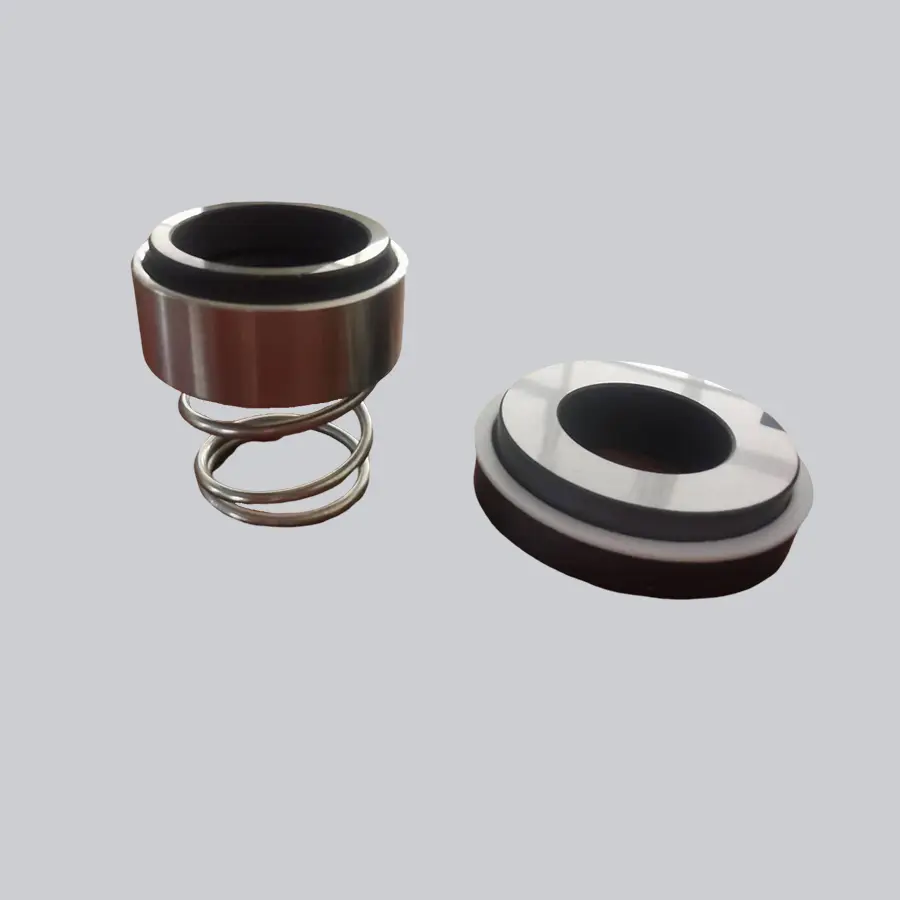
Most pool pump leaks can be sealed by identifying the source of the leak and replacing or resealing the affected component. Common repairs include replacing worn O-rings, resealing threaded PVC fittings, tightening loose connections, or installing a new mechanical seal if the shaft seal has failed. Before starting any inspection or repair, always turn off the power to the pump to ensure safety. Using high-quality replacement parts helps restore reliable performance and prevents minor leaks from developing into costly pump damage.
Key Takeaways
- Always prioritize safety. Turn off power at the circuit breaker before inspecting or repairing the pool pump.
- Locate the leak source first. Check the pump lid, O-ring, PVC fittings, and shaft seal for signs of damage.
- Use quality replacement parts like Victor mechanical seals. This extends repair life and prevents repeat leaks.
- Inspect the pool pump and its components regularly. This helps you catch small problems before they worsen.
- Perform seasonal maintenance. This protects the pump from weather damage and keeps it running reliably year-round.
Find the Source of the Pool Pump Leak
Always turn off power and isolate the pump before starting any inspection to protect against electrical hazards and prevent further equipment damage.
Inspect the Pump Lid and O-Ring
This is the most common leak point on the suction side. A worn, cracked or misaligned O-ring breaks the airtight seal, drawing air into the system and reducing pump efficiency.
Inspect the lid for cracks, and check the O-ring for flat spots, brittleness, or twisting in the seal groove. Replace the O-ring if it shows any signs of degradation.
Check PVC Fittings and Connections
Leaks frequently appear at glued or threaded plumbing joints. Suction-side leaks pull air into the pump, causing noise, reduced flow, or loss of prime; pressure-side leaks show visible water seepage.
Use a dye test to pinpoint hard-to-spot leaks: add a small amount of dye near the joint while the pump runs, and watch for the dye to be drawn in (suction side) or pushed out (pressure side). Tighten loose threaded fittings and check pipe walls for cracks.
Examine the Shaft Seal and Housing

The shaft seal sits between the motor and the wet end of the pump, creating a watertight barrier around the drive shaft. When it wears out, water leaks along the shaft and pools under the pump housing.
Common signs include steady dripping from the bottom of the pump, rust stains on the motor plate, or white mineral buildup under the unit.
Tip: Technicians often find leaks in skimmer lines, main drain lines, and return lines. Suction-side leaks can be tricky to locate, so check all possible points carefully.
How to Seal a Leaking Pool Pump
Turn Off Power and Prepare Tools
Confirm power is shut off at the circuit breaker before starting any repairs. Gather the required tools and matching replacement parts for the leak point you have identified.
Replace a Damaged O-Ring
- Unscrew or unclamp the pump lid and remove it.
- Pull out the old O-ring and wipe the seal groove clean of dirt, debris and old lubricant.
- Apply a thin coat of food-grade silicone lubricant to the new O-ring.
- Seat the O-ring evenly in the groove, making sure it is not twisted or pinched.
- Reinstall the pump lid and tighten it evenly to create a uniform seal.
Reseal PVC Fittings with Tape or Glue
- For threaded fittings: Unscrew the fitting, wrap 3–4 tight layers of Teflon tape clockwise around the male threads, then retighten the joint by hand followed by a quarter turn with pliers.
- For glued slip joints: Cut out the leaking section of pipe, deburr both ends, apply PVC primer and cement per product instructions, and press the new fitting firmly into place. Allow full cure time before restoring water flow.
Top-rated pool sealants feature strong adhesion, permanent flexibility, chemical resistance and UV inhibitors to withstand pool environments and temperature changes without cracking.
Tighten Screws and Connections
Loose screws or fittings can cause seepage. Check all fasteners on the pump housing and plumbing lines, and tighten them evenly. Take care not to over-tighten plastic parts, as this can cause cracking.
Install a New Shaft Seal
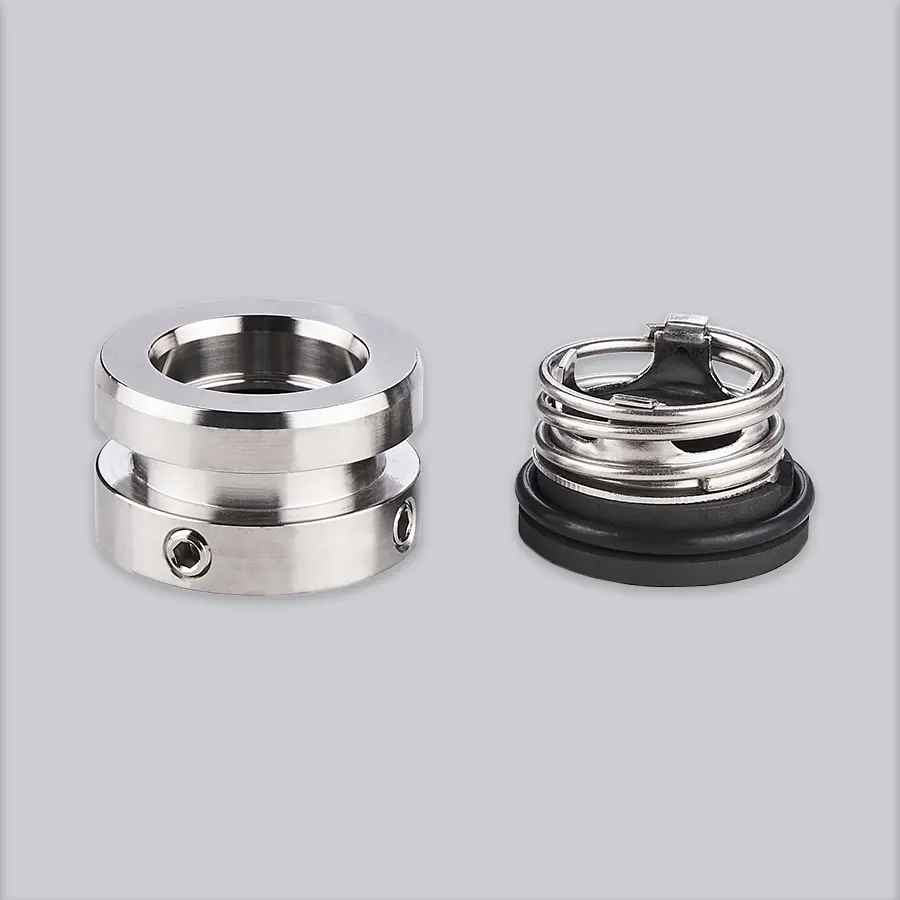
Shaft seal replacement is an intermediate-level DIY repair that requires separating the pump wet end from the motor:
- Disassemble the wet end housing from the motor assembly.
- Remove the impeller and extract both halves of the old worn seal from the housing and impeller.
- Clean the seal cavity thoroughly to remove dirt and mineral buildup.
- Press the new stationary seal into the housing and the rotating seal onto the impeller. Avoid touching the seal faces with bare fingers.
- Reassemble the pump in reverse order.
Tip: Always replace the shaft seal any time you disassemble the pump wet end, even if it is not yet visibly leaking.
Prevent Future Pool Pump Leaks
Regular Inspection
Perform quick monthly checks to catch issues early:
- Clear debris from the pump basket and filter weekly.
- Inspect the pump housing for cracks or freeze damage.
- Check O-rings and gaskets for dryness, cracking or flattening.
- Listen for unusual rattling or gurgling, and watch for excess air bubbles in the pump basket.
- Address any visible seepage or loose fittings immediately.
Tip: Re-lubricate O-rings and gaskets with silicone grease during routine checks to extend their service life and maintain a tight seal.
Replace Worn Seals and Fittings
Proactively replace worn components before they develop into major leaks. Replace hardened or twisted O-rings, re-seal aging threaded joints with fresh plumber’s tape, and change the shaft seal at recommended service intervals. Mechanical seals from a trusted mechanical seal manufacturer, such as Victor, provide better resistance to pool chemicals and help extend pump service life.
Seasonal Maintenance
Complete these tasks at pool opening and closing to protect the pump from weather and wear:
| Maintenance Task | Purpose |
|---|---|
| Visual inspection | Spot leaks and unusual noise early |
| Water level checks | Prevent pump cavitation and air lock damage |
| Filter inspection and service | Reduce strain on the pump motor |
| O-ring inspection and lubrication | Prevent cracking and suction-side air leaks |
| Shaft seal inspection | Address wear before it causes motor damage |
| Impeller inspection | Clear debris to maintain strong water flow |
Drain all water from the pump and plumbing before winter to prevent freeze damage, and store or cover the pump to shield it from harsh weather.
When to Call a Professional
Most simple O-ring and fitting leaks are suitable for DIY repair, but call a licensed pool technician for the following cases:
- Electrical issues: tripping breakers, burning smells, or unresponsive motor controls
- Visible cracks in the pump housing or volute
- Repeated shaft seal leaks shortly after replacement
- Pump is 8+ years old with multiple failing components
- Leak source cannot be located after full inspection
- You are unfamiliar with pump disassembly for shaft seal replacement
FAQ
What causes most pool pump leaks?
Most leaks stem from normal wear of seals, O-rings and plumbing fittings over time. Cracks in the pump housing and loose connections are less common but also frequent causes.
How often should you replace the shaft seal?
Under normal use, replace the shaft seal every 2–3 years. Replace it immediately if you see water dripping from the motor housing. Upgrading to Victor mechanical seals can extend this service interval.
Can you fix a pool pump leak without special tools?
Simple leaks such as a bad O-ring or loose threaded fitting can be fixed with basic household tools like screwdrivers, pliers and plumber’s tape. Shaft seal replacement may require a seal puller and impeller wrench for some pump models.
Why choose Victor mechanical seals for pool pumps?
Victor mechanical seals are formulated to resist chlorine and pool chemical degradation, delivering longer service life than generic seals. They are compatible with most popular residential pool pump models and include clear installation instructions.